This Tutorial uses Gimp and Irfanview, which are both free.
I actually did some make-up and couldn't work what I did wrong, as they did not show up in game.
I searched for answers and found nothing, but eventually worked out what was wrong.
So here is a walk through showing how to recolour Eye Shadow, but can also be used for clothes.
WARNING: Do not upload anything you recolour using this method, it is for personal use only.Start by opening Bodyshop, Create Parts, Start New Project, Create Facial Hair Makeup & Glasses, Makeup and then Eyeshadow.
I have used an Ephemera Eyeshadow in this as I wanted more variety, so I click on an Eyeshadow and export the Textures and when it asks to name your Project, give it a name you can remember.
As this is my eighth recolour, I am calling it Ephemera8. Minimise Bodyshop while you do the Project.

Now go to My Documents\EA Games\The Sims 2\Projects and open the Folder with the project name you used. Right click the Texture and click Edit with Gimp.
When it opens up click Colors and then click Color Balance.

Now you play with the three color sliders, to get the color to what you want.

Click Colors, Brightness-Contrast.

Now you have two Sliders to adjust.

When you are happy with the color, save your Texture.

Now to make a Swatch that will show up in the Bodyshop Category.
Go back to your Project Folder and by right clicking, open with Irfanview.
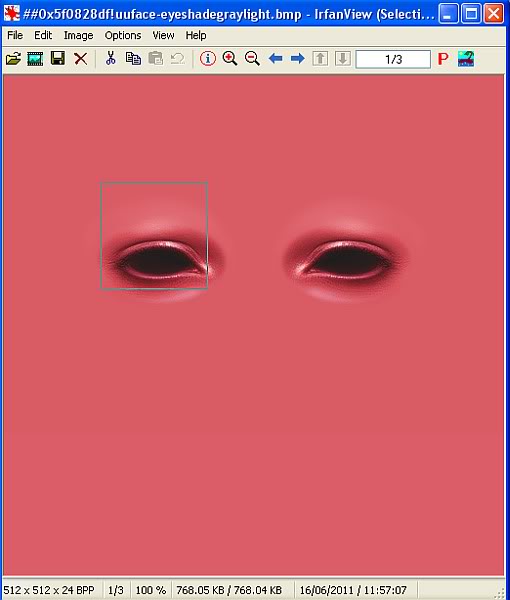
Drag a square around the eye by holding down the left mouse button and letting go of the button when you are ready, by watching the numbers in the top blue border.
Now click Edit and then Crop Selection.

Now click Image and then Resize/Resample.

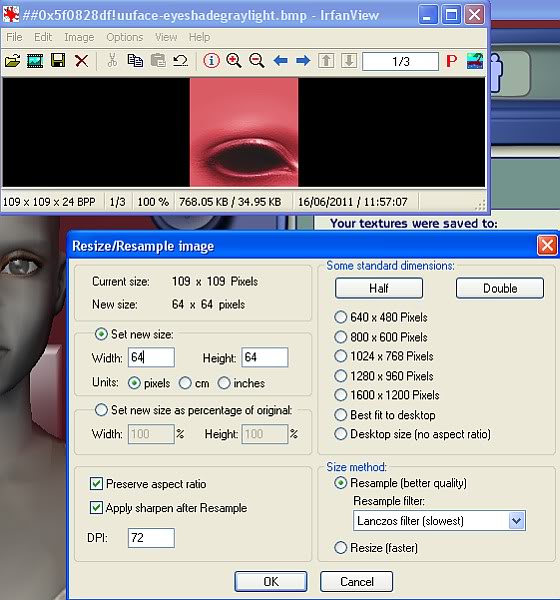
Now make sure Set new size is selected.
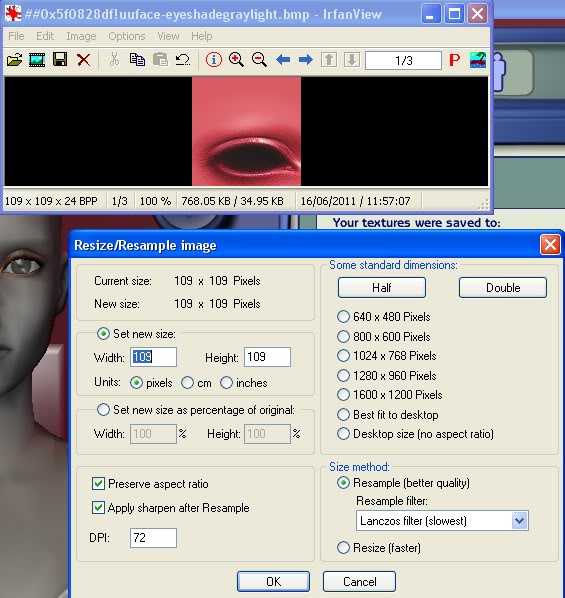
A Swatch is 64 x 64 pixels, so resize your cropped selection to this size.
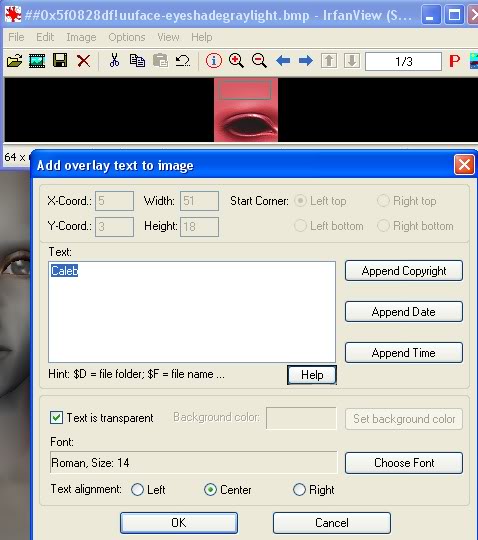
Now drag a rectangle across the top of your Swatch and then click Edit and then Insert text into selection.

Type whatever you like and by clicking Chose Font, brings up the options to change the font, color and size.
You may also make sure Text Alignment is set to Center.
The finished Swatch.

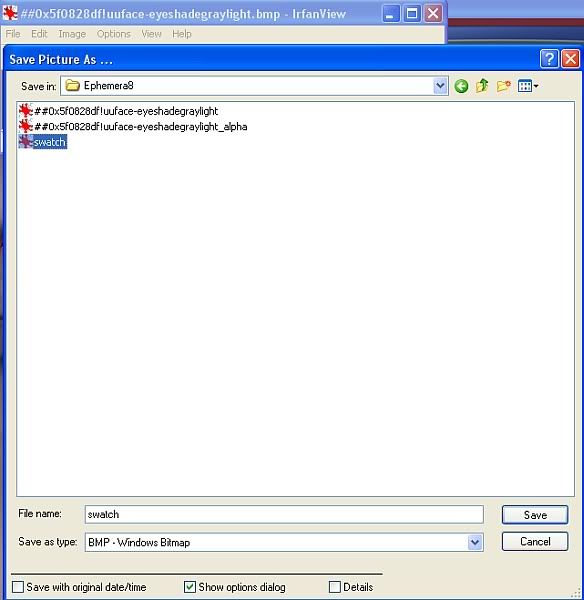
Now save your Swatch as Swatch in your Project Folder.
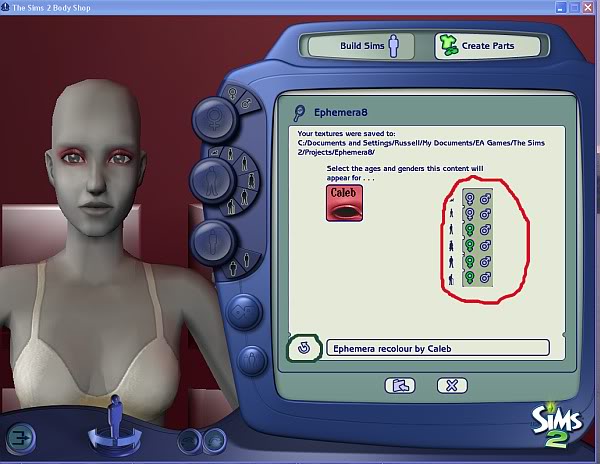
Bring Bodyshop back, click the green circled arrow to refresh the model and Swatch, also deselect the Icons in the red circled area that you don't want the Eyeshadow to appear in.
Now click the Import to Game Icon at the bottom.
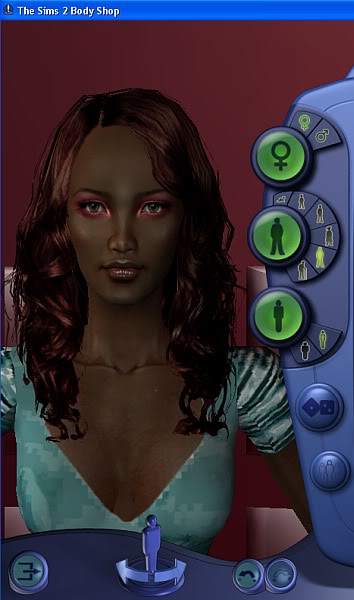
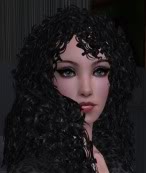
Check what it looks like in Bodyshop and you are done. I know the red is bright, but it shows what can be done by having a play.
Here is the Phyl Manning dress I included in the upload.

By using similar techniques to the above you can change colours for clothing you like, but remember only for your personal use.

The photos of this Tutorial were done with Irfanview, using Options, Screen Capture and making a Folder to capture each photo for resizing after I was finished,

 Sugah's Place is proud to be one of the last remaining Sims sites devoted entirely to Sims 2. The Ladies of SP welcome you and thank you for being here with us. * See what's NEW by clicking on THIS LINK ...We try to update regularly, so check back often! Follow us on Facebook, Pinterest and 'Tweet' yourself to a little Sugah!! ... Stop by, introduce yourself, play some forum games and schmooze a bit. We're happy to have you.


 Thu Jun 16, 2011 2:08 am